Data & Derivatives
In this step we will extend our server so that we can list models, upload them, and prepare them for viewing.
Data management
First, let's make sure that our application has a bucket in the Data Management service to store its files in. Typically the bucket would be created just once as part of a provisioning step but in our sample we will implement a helper function that will make sure that the bucket is available, and use it in other parts of the server app.
When creating buckets, it is required that applications set a retention policy for objects stored in the bucket. This cannot be changed at a later time. The retention policy on the bucket applies to all objects stored within. When creating a bucket, specifically set the policyKey to transient, temporary, or persistent.
Data Retention Policy
Transient - Objects older than 24 hours are removed automatically.
Temporary - When an object has reached 30 days of age, it is deleted.
Persistent - Available until a user deletes the object.
- Node.js & VSCode
- .NET 6 & VSCode
- .NET 6 & VS2022
Let's implement the OSS (Object Storage Service)
logic of our server application. Add the following code to the end of the services/aps.js file:
service.ensureBucketExists = async (bucketKey) => {
    try {
        await new APS.BucketsApi().getBucketDetails(bucketKey, null, await service.getInternalToken());
    } catch (err) {
        if (err.response.status === 404) {
            await new APS.BucketsApi().createBucket({ bucketKey, policyKey: 'persistent' }, {}, null, await service.getInternalToken());
        } else {
            throw err;
        }
    }
};

service.listObjects = async () => {
    await service.ensureBucketExists(APS_BUCKET);
    let resp = await new APS.ObjectsApi().getObjects(APS_BUCKET, { limit: 64 }, null, await service.getInternalToken());
    let objects = resp.body.items;
    while (resp.body.next) {
        const startAt = new URL(resp.body.next).searchParams.get('startAt');
        resp = await new APS.ObjectsApi().getObjects(APS_BUCKET, { limit: 64, startAt }, null, await service.getInternalToken());
        objects = objects.concat(resp.body.items);
    }
    return objects;
};

service.uploadObject = async (objectName, filePath) => {
    await service.ensureBucketExists(APS_BUCKET);
    const buffer = await fs.promises.readFile(filePath);
    const results = await new APS.ObjectsApi().uploadResources(
        APS_BUCKET,
        [{ objectKey: objectName, data: buffer }],
        { useAcceleration: false, minutesExpiration: 15 },
        null,
        await service.getInternalToken()
    );
    if (results[0].error) {
        throw results[0].completed;
    } else {
        return results[0].completed;
    }
};
The ensureBucketExists function will simply try and request additional information
about a specific bucket using the BucketsApi class from the APS SDK, and if the response
from APS is 404 Not Found, it will attempt to create a new bucket with this name.
As you can see, the getObjects method of the ObjectsApi class (responsible for listing files
in a Data Management bucket) uses pagination. In our code we simply iterate through all the pages
and return all files from our application's bucket in a single list.
Create a APS.Oss.cs file under the Models folder. This is where will implement
all the OSS (Object Storage Service)
logic of our server application. Populate the new file with the following code:
using System;
using System.Collections.Generic;
using System.IO;
using System.Threading.Tasks;
using Autodesk.Forge;
using Autodesk.Forge.Client;
using Autodesk.Forge.Model;

public partial class APS
{
    private async Task EnsureBucketExists(string bucketKey)
    {
        var token = await GetInternalToken();
        var api = new BucketsApi();
        api.Configuration.AccessToken = token.AccessToken;
        try
        {
            await api.GetBucketDetailsAsync(bucketKey);
        }
        catch (ApiException e)
        {
            if (e.ErrorCode == 404)
            {
                await api.CreateBucketAsync(new PostBucketsPayload(bucketKey, null, PostBucketsPayload.PolicyKeyEnum.Persistent));
            }
            else
            {
                throw e;
            }
        }
    }

    public async Task<ObjectDetails> UploadModel(string objectName, Stream content)
    {
        await EnsureBucketExists(_bucket);
        var token = await GetInternalToken();
        var api = new ObjectsApi();
        api.Configuration.AccessToken = token.AccessToken;
        var results = await api.uploadResources(_bucket, new List<UploadItemDesc> {
            new UploadItemDesc(objectName, content)
        });
        if (results[0].Error) {
            throw new Exception(results[0].completed.ToString());
        } else {
            var json = results[0].completed.ToJson();
            return json.ToObject<ObjectDetails>();
        }
    }

    public async Task<IEnumerable<ObjectDetails>> GetObjects()
    {
        const int PageSize = 64;
        await EnsureBucketExists(_bucket);
        var token = await GetInternalToken();
        var api = new ObjectsApi();
        api.Configuration.AccessToken = token.AccessToken;
        var results = new List<ObjectDetails>();
        var response = (await api.GetObjectsAsync(_bucket, PageSize)).ToObject<BucketObjects>();
        results.AddRange(response.Items);
        while (!string.IsNullOrEmpty(response.Next))
        {
            var queryParams = Microsoft.AspNetCore.WebUtilities.QueryHelpers.ParseQuery(new Uri(response.Next).Query);
            response = (await api.GetObjectsAsync(_bucket, PageSize, null, queryParams["startAt"])).ToObject<BucketObjects>();
            results.AddRange(response.Items);
        }
        return results;
    }
}
The EnsureBucketExists method will simply try and request additional information
about a specific bucket, and if the response from APS is 404 Not Found, it will
attempt to create a new bucket with that name. If no bucket name is provided through
environment variables, we generate one by appending the -basic-app suffix to our
application's Client ID.
The GetObjects method pages through all objects in the bucket, and returns their name and URN
(the base64-encoded ID that will later be used when communicating with the Model Derivative service).
Note that the Data Management service requires bucket names to be globally unique,
and attempts to create a bucket with an already used name will fail with 409 Conflict.
See the documentation
for more details.
Derivatives
Next, we will implement a couple of helper functions that will derive/extract various types of information from the uploaded files - for example, 2D drawings, 3D geometry, and metadata - that we can later load into the Viewer in our webpage. To do so, we will need to start a new conversion job in the Model Derivative service, and checking the status of the conversion.
Model Derivative service requires all IDs we use in the API calls to be base64-encoded, so we include a small utility function that will help with that.
Base64-encoded IDs are referred to as URNs.
- Node.js & VSCode
- .NET 6 & VSCode
- .NET 6 & VS2022
Let's implement the logic for converting designs for viewing, and for checking the status of
the conversions. Add the following code to the end of the services/aps.js file:
service.translateObject = async (urn, rootFilename) => {
    const job = {
        input: { urn },
        output: { formats: [{ type: 'svf', views: ['2d', '3d'] }] }
    };
    if (rootFilename) {
        job.input.compressedUrn = true;
        job.input.rootFilename = rootFilename;
    }
    const resp = await new APS.DerivativesApi().translate(job, {}, null, await service.getInternalToken());
    return resp.body;
};

service.getManifest = async (urn) => {
    try {
        const resp = await new APS.DerivativesApi().getManifest(urn, {}, null, await service.getInternalToken());
        return resp.body;
    } catch (err) {
        if (err.response.status === 404) {
            return null;
        } else {
            throw err;
        }
    }
};

service.urnify = (id) => Buffer.from(id).toString('base64').replace(/=/g, '');
Create another file under the Models subfolder, and call it APS.Deriv.cs. This is where
will implement the logic for converting designs for viewing, and for checking the status of
the conversions. Populate the new file with the following code:
using System.Collections.Generic;
using System.Threading.Tasks;
using Autodesk.Forge;
using Autodesk.Forge.Model;

public record TranslationStatus(string Status, string Progress, IEnumerable<string>? Messages);

public partial class APS
{
    public static string Base64Encode(string plainText)
    {
        var plainTextBytes = System.Text.Encoding.UTF8.GetBytes(plainText);
        return System.Convert.ToBase64String(plainTextBytes).TrimEnd('=');
    }

    public async Task<Job> TranslateModel(string objectId, string rootFilename)
    {
        var token = await GetInternalToken();
        var api = new DerivativesApi();
        api.Configuration.AccessToken = token.AccessToken;
        var formats = new List<JobPayloadItem> {
            new JobPayloadItem (JobPayloadItem.TypeEnum.Svf, new List<JobPayloadItem.ViewsEnum> { JobPayloadItem.ViewsEnum._2d, JobPayloadItem.ViewsEnum._3d })
        };
        var payload = new JobPayload(
            new JobPayloadInput(Base64Encode(objectId)),
            new JobPayloadOutput(formats)
        );
        if (!string.IsNullOrEmpty(rootFilename))
        {
            payload.Input.RootFilename = rootFilename;
            payload.Input.CompressedUrn = true;
        }
        var job = (await api.TranslateAsync(payload)).ToObject<Job>();
        return job;
    }

    public async Task<TranslationStatus> GetTranslationStatus(string urn)
    {
        var token = await GetInternalToken();
        var api = new DerivativesApi();
        api.Configuration.AccessToken = token.AccessToken;
        var json = (await api.GetManifestAsync(urn)).ToJson();
        var messages = new List<string>();
        foreach (var message in json.SelectTokens("$.derivatives[*].messages[?(@.type == 'error')].message"))
        {
            if (message.Type == Newtonsoft.Json.Linq.JTokenType.String)
                messages.Add((string)message);
        }
        foreach (var message in json.SelectTokens("$.derivatives[*].children[*].messages[?(@.type == 'error')].message"))
        {
            if (message.Type == Newtonsoft.Json.Linq.JTokenType.String)
                messages.Add((string)message);
        }
        return new TranslationStatus((string)json["status"], (string)json["progress"], messages);
    }
}
Server endpoints
Now let's make the new functionality available to the client through another set of endpoints.
- Node.js & VSCode
- .NET 6 & VSCode
- .NET 6 & VS2022
Create a models.js file under the routes subfolder with the following code:
const express = require('express');
const formidable = require('express-formidable');
const { listObjects, uploadObject, translateObject, getManifest, urnify } = require('../services/aps.js');

let router = express.Router();

router.get('/api/models', async function (req, res, next) {
    try {
        const objects = await listObjects();
        res.json(objects.map(o => ({
            name: o.objectKey,
            urn: urnify(o.objectId)
        })));
    } catch (err) {
        next(err);
    }
});

router.get('/api/models/:urn/status', async function (req, res, next) {
    try {
        const manifest = await getManifest(req.params.urn);
        if (manifest) {
            let messages = [];
            if (manifest.derivatives) {
                for (const derivative of manifest.derivatives) {
                    messages = messages.concat(derivative.messages || []);
                    if (derivative.children) {
                        for (const child of derivative.children) {
                            messages.concat(child.messages || []);
                        }
                    }
                }
            }
            res.json({ status: manifest.status, progress: manifest.progress, messages });
        } else {
            res.json({ status: 'n/a' });
        }
    } catch (err) {
        next(err);
    }
});

router.post('/api/models', formidable(), async function (req, res, next) {
    const file = req.files['model-file'];
    if (!file) {
        res.status(400).send('The required field ("model-file") is missing.');
        return;
    }
    try {
        const obj = await uploadObject(file.name, file.path);
        await translateObject(urnify(obj.objectId), req.fields['model-zip-entrypoint']);
        res.json({
            name: obj.objectKey,
            urn: urnify(obj.objectId)
        });
    } catch (err) {
        next(err);
    }
});

module.exports = router;
The formidable() middleware used in the POST request handler will make sure that any
multipart/form-data content coming with the request is parsed and available in the req.files
and req.fields properties.
And mount the router to our server application by modifying server.js:
const express = require('express');
const { PORT } = require('./config.js');

let app = express();
app.use(express.static('wwwroot'));
app.use(require('./routes/auth.js'));
app.use(require('./routes/models.js'));
app.listen(PORT, function () { console.log(`Server listening on port ${PORT}...`); });
The router will handle 3 types of requests:
GET /api/models- when the client wants to get the list of all models available for viewingGET /api/models/:urn/status- used to check the status of the conversion (incl. error messages if there are any)POST /api/models- when the client wants to upload a new model and start its translation
Create a ModelsController.cs file under the Controllers subfolder with the following content:
using System.Collections.Generic;
using System.IO;
using System.Linq;
using System.Threading.Tasks;
using Microsoft.AspNetCore.Http;
using Microsoft.AspNetCore.Mvc;
using Autodesk.Forge.Client;

[ApiController]
[Route("api/[controller]")]
public class ModelsController : ControllerBase
{
    public record BucketObject(string name, string urn);

    private readonly APS _aps;

    public ModelsController(APS aps)
    {
        _aps = aps;
    }

    [HttpGet()]
    public async Task<IEnumerable<BucketObject>> GetModels()
    {
        var objects = await _aps.GetObjects();
        return from o in objects
               select new BucketObject(o.ObjectKey, APS.Base64Encode(o.ObjectId));
    }

    [HttpGet("{urn}/status")]
    public async Task<TranslationStatus> GetModelStatus(string urn)
    {
        try
        {
            var status = await _aps.GetTranslationStatus(urn);
            return status;
        }
        catch (ApiException ex)
        {
            if (ex.ErrorCode == 404)
                return new TranslationStatus("n/a", "", new List<string>());
            else
                throw ex;
        }
    }

    public class UploadModelForm
    {
        [FromForm(Name = "model-zip-entrypoint")]
        public string? Entrypoint { get; set; }

        [FromForm(Name = "model-file")]
        public IFormFile File { get; set; }
    }

    [HttpPost()]
    public async Task<BucketObject> UploadAndTranslateModel([FromForm] UploadModelForm form)
    {
        using (var stream = new MemoryStream())
        {
            await form.File.CopyToAsync(stream);
            stream.Position = 0;
            var obj = await _aps.UploadModel(form.File.FileName, stream);
            var job = await _aps.TranslateModel(obj.ObjectId, form.Entrypoint);
            return new BucketObject(obj.ObjectKey, job.Urn);
        }
    }
}
The controller will handle 3 types of requests:
GET /api/models- when the client wants to get the list of all models available for viewingGET /api/models/:urn/status- used to check the status of the conversion (incl. error messages if there are any)POST /api/models- when the client wants to upload a new model and start its translation
Try it out
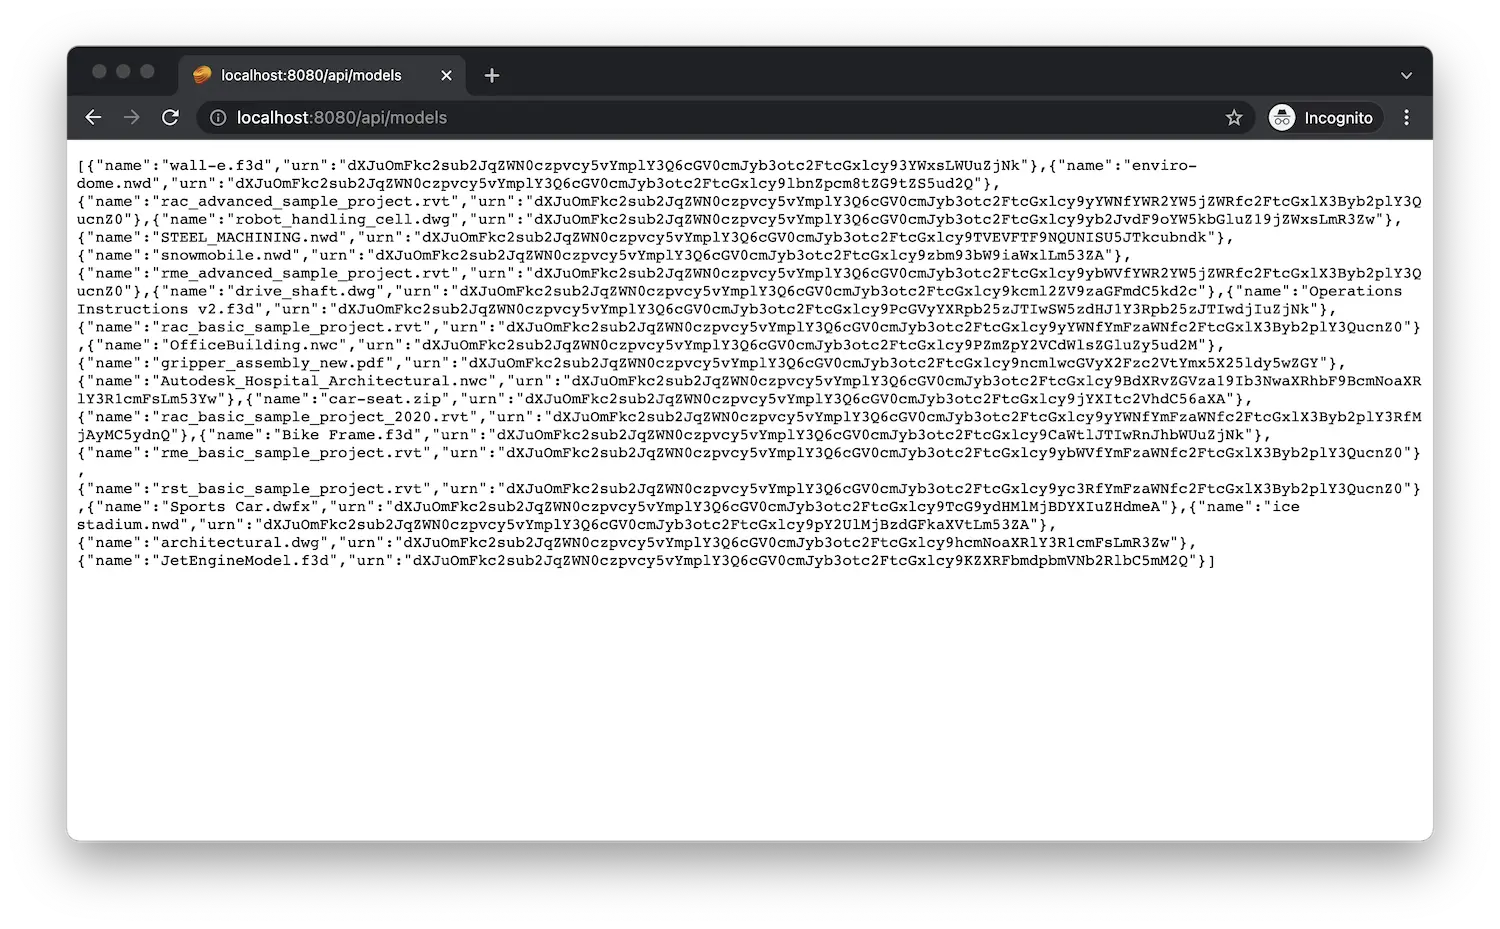
Start (or restart) the app as usual, and navigate to http://localhost:8080/api/models in the browser. The server should respond with a JSON list with names and URNs of all objects available in your configured bucket.
If this is your first time working with APS, you may get a JSON response
with an empty array ([]) which is expected. In the screenshot below we can
already see a couple of files that were uploaded to our bucket in the past.
If you are using Google Chrome, consider installing JSON Formatter or a similar extension to automatically format JSON responses.